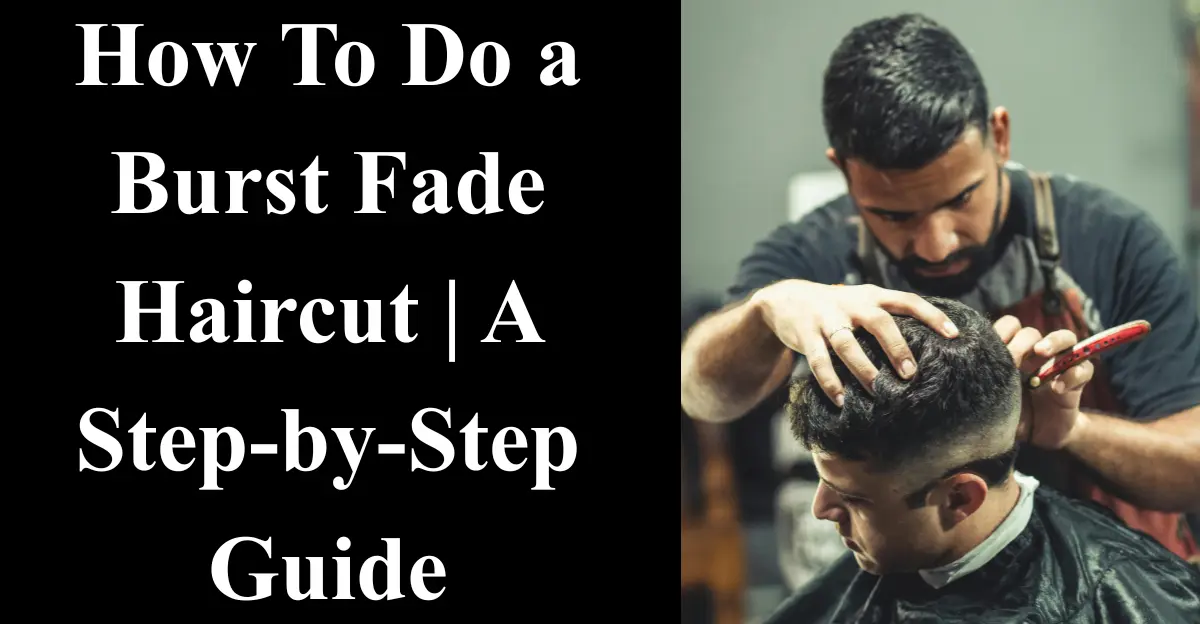
A burst fade haircut has swiftly ascended as a popular choice for men seeking a fresh, edgy twist on the classic fade haircut. This unique burst design fades intricately around the temples, emulating a stellar starburst effect from the front to the top. Follow this meticulous, step-by-step guide to proficiently cut and style a dynamic look yourself and elevate your hairstyle today.
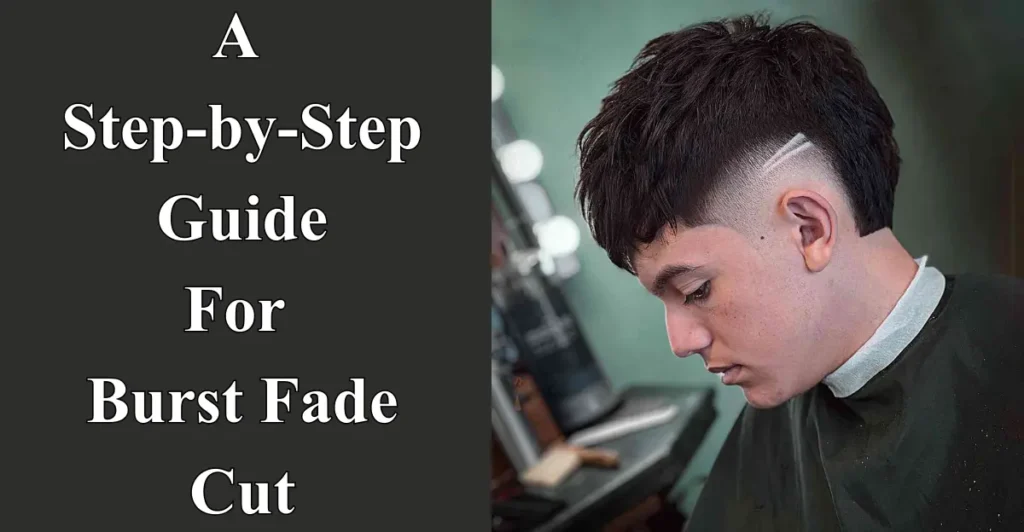
Table of Contents
What is a Burst Fade Haircut?

A burst fade is a dynamic taper fade that transitions from closely trimmed sides and back to a longer top, creating a burst design that envelops the temples and sideburns. Unlike a regular fade, it gradually tapers and sometimes dramatically fades, adding a striking flair and dimension to a fade haircut. This signature cut is known for its starburst effect, which sets it apart from standard cuts and has also been compared to the South of France fade for its stylish and clean finish.
From my experience, the burst fade is perfect for those who want a modern, edgy look without compromising on precision and once you get the technique, it elevates any hairstyle effortlessly.
When should you get a burst fade cut?
A burst fade is a versatile style primed to complement various hair types and face shapes, making it an ideal choice for guys craving an edgy, contemporary look. It’s a great option for thick, straight, wavy or curly hair, as the fade expertly elevates appearance while keeping the long top to highlight natural texture. The key is keeping the fade balanced to show off the hair’s unique movement and overall structure.
From my experience, timing your burst fade around hair growth cycles ensures the dynamic style stays sharp. I’ve also noticed that maintaining the fade with occasional trims keeps the burst design crisp, making the overall haircut look professionally done and effortlessly stylish every day.
Tools and Supplies Needed:
Undertaking the task of creating a burst fade requires the correct tools and supplies, which are essential for mastering this technique.
- Clippers: A reliable clipper set with multiple guard sizes is adaptable for cutting hair at varying lengths during the different phases of the fade.
- Tapering comb attachment: This add-on for clippers is crucial for achieving a graduated blend which defines the burst fade perfectly.
- Sharp scissors: Sharp scissors are essential for fine-tuning and detailing hair atop the head, allowing precise control over the longer sections.
- Barber cape: A barber cape helps maintain a clean workspace and protects clothing from hair trimmings, making the cut easier and more professional.
- Fine-tooth comb: The fine-tooth comb with finer teeth gives better control for styling and refining the cut, especially when blending different lengths.
- Clipper oil: Clipper oil is a must-have to keep clippers in prime condition, ensuring a smooth cut every time.
- Styling products: Styling products like pomade, wax, or gel provide finishing touches to hold the style in place and enhance the burst fade’s overall look.
From my experience, assembling these items before starting keeps you well-equipped, which is crucial for learning the process efficiently and achieving a sharp, modern cut and style every time. I’ve noticed that when all tools and supplies are ready, the workflow feels natural, mistakes are minimal, and the final burst fade always looks clean, professional, and effortlessly stylish, even when done at home.
Step-by-Step Burst Fade Haircut Instructions:
Embracing a bold, new hairstyle brings excitement for anyone interested in mastering the Burst Fade while paying attention to every detail to achieve a polished and professional look.
- Prep the Hair: Begin by washing and drying the hair thoroughly to remove tangles and knots. Apply a pre-styler to add texture, ensuring smooth handling for the next steps.
- Cut the Top: Use sharp scissors to trim the top to the desired length, typically 2-3 inches, keeping uniformity for a clean and structured style.
- Attach a Long Guard: Fit a #4 guard onto the clippers to evenly trim the upper sides and parietal ridge, setting a strong foundation for the fade.
- Create the Initial Fade: Switch to a #2 guard to start fading the sides and back, working in short strokes against the grain up to halfway up the head.
- Detail the Burst Design: With a #1 guard, carefully taper the temples and sideburns into a curved, semi-circular pattern, forming the iconic burst effect.
- Blend the Fade: Employ a tapering comb attachment and upward strokes along the lower sides, back and upper fade to smoothly merge lengths for a seamless transition.
- Refine with Scissors: Use scissors to fine-tune any uneven areas, ensuring the fade contours naturally along the shape of the head.
- Shape the Hairline: Create a crisp, clean edge by trimming around the neckline and ears, giving the haircut a sharp and polished finish.
- Style the Finish: Apply pomade, wax or gel and use a round brush and blow dryer to enhance definition and hold, completing the bold Burst Fade.
From my experience, taking time at each step makes a huge difference. Proper prep, precision in fading, and attention to the burst detailing turn a regular haircut into a standout and professional look. The blending and styling phase especially ensures the dynamic burst effect remains sharp, clean and eye-catching, perfect for any modern hairstyle.
Conclusion
The burst fade haircut is a bold and dynamic style that elevates any look with its unique starburst effect and precise fading. Mastering this cut allows you to express personality while keeping a clean, modern appearance. With the right tools, technique and attention to detail, achieving a professional-quality burst fade at home is entirely possible. Embrace this edgy and versatile haircut and let your style make a statement every day.
FAQs
Is a burst fade suitable for all hair types?
Yes, a burst fade works on most hair types, including straight, wavy, and curly hair. The key is adjusting the fade’s length and blending according to your hair’s natural texture. For thicker hair, the burst adds dimension, while on thinner hair, it creates the illusion of fullness, making it a versatile choice for men seeking a modern and clean-cut style.
How often should I get my burst fade trimmed?
To maintain the sharp, dynamic look of a burst fade, scheduling a trim every 3-4 weeks is ideal. This keeps the fade clean, preserves the starburst effect, and prevents the sides and temples from growing out unevenly. Regular maintenance ensures the haircut always looks fresh and professional.